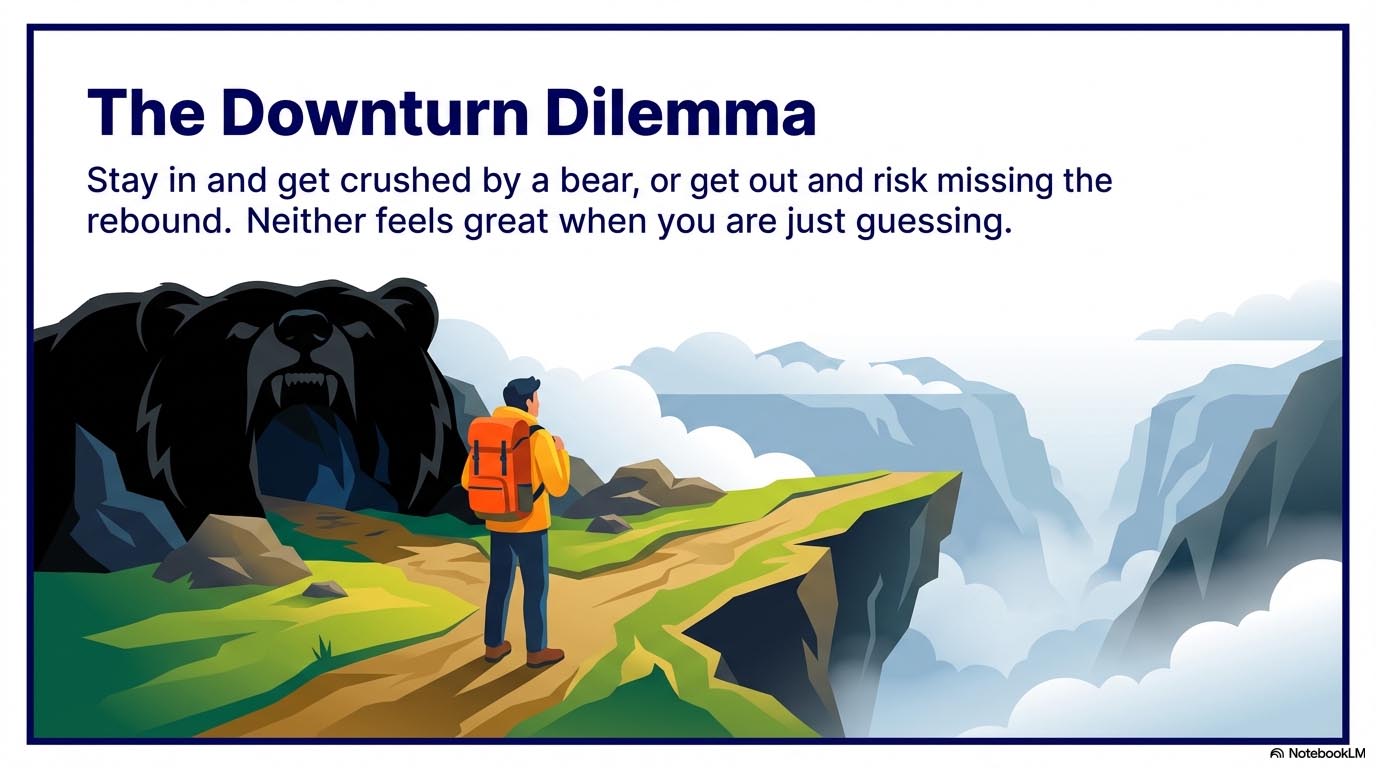
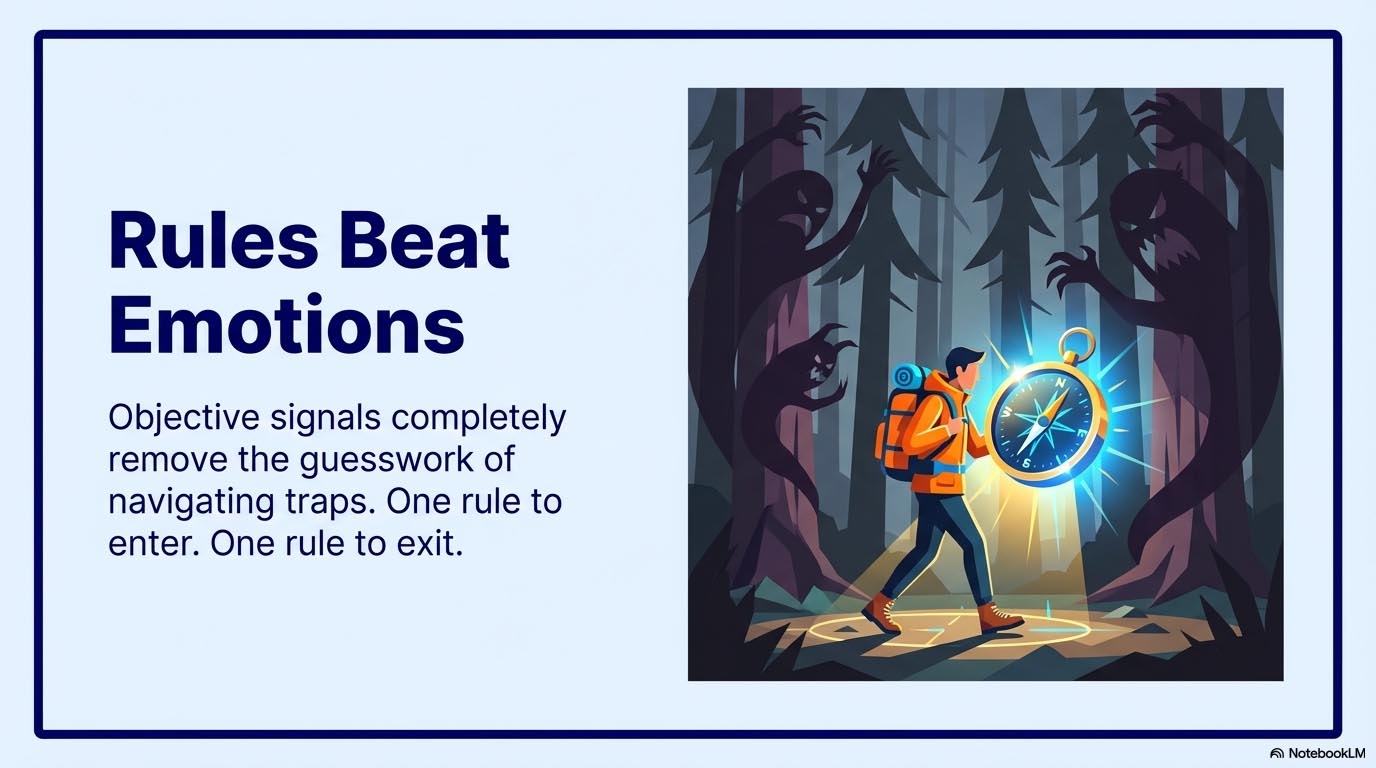
The hardest decision in trading isn’t what to buy — it’s when to get in and when to get out. This chapter cuts through the guesswork and shows how ITM uses clear signals to avoid the worst of bear markets and capture the bulk of the move.
Ch 9 : Overview
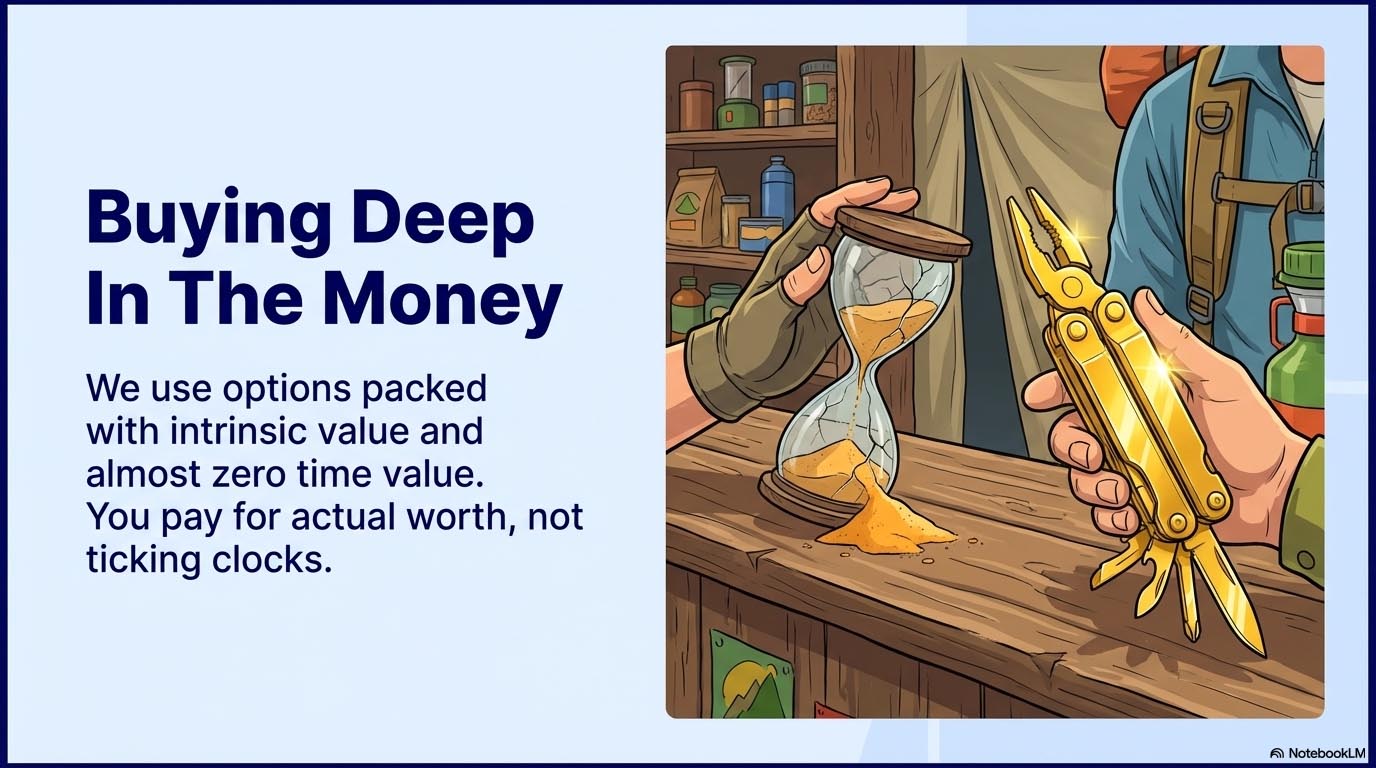
Getting In & Out
Ch 9 : Essentials in 14 Points
Getting In & Out
Ch 9 : Podcast
Getting In & Out
Ch 9 : Video
Getting In & Out
Ch 9 : Glossary
Getting In & Out
Grab another drink and let’s cut the fluff from Chapter 9. Here is your glossary of the new concepts:
Bear Market: A brutal market drop of more than 20%.
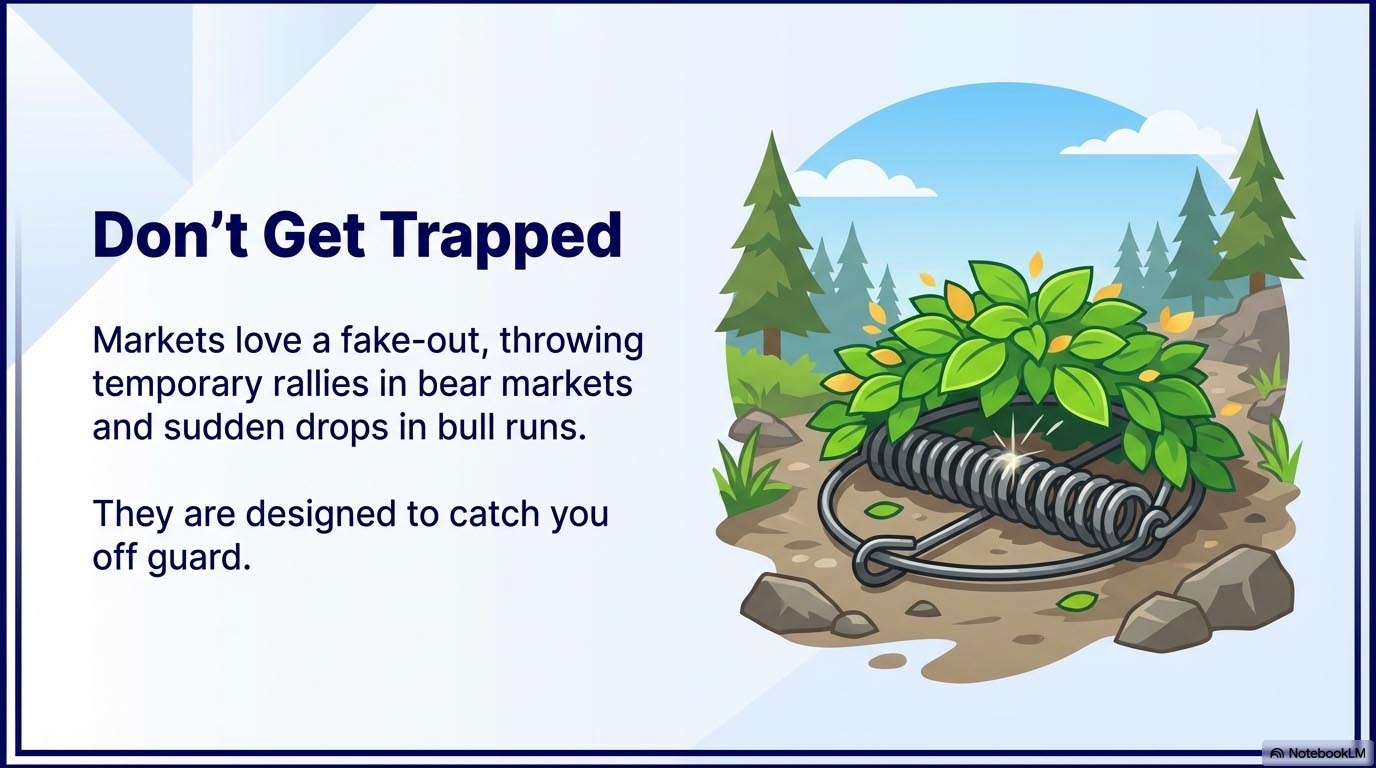
Bear Trap: A sudden sell-off during a bull market. It tricks panicked traders into jumping ship right before the market keeps climbing.
Bull Trap: A fake-out rally during a bear market. It catches eager buyers right before the market tanks again.
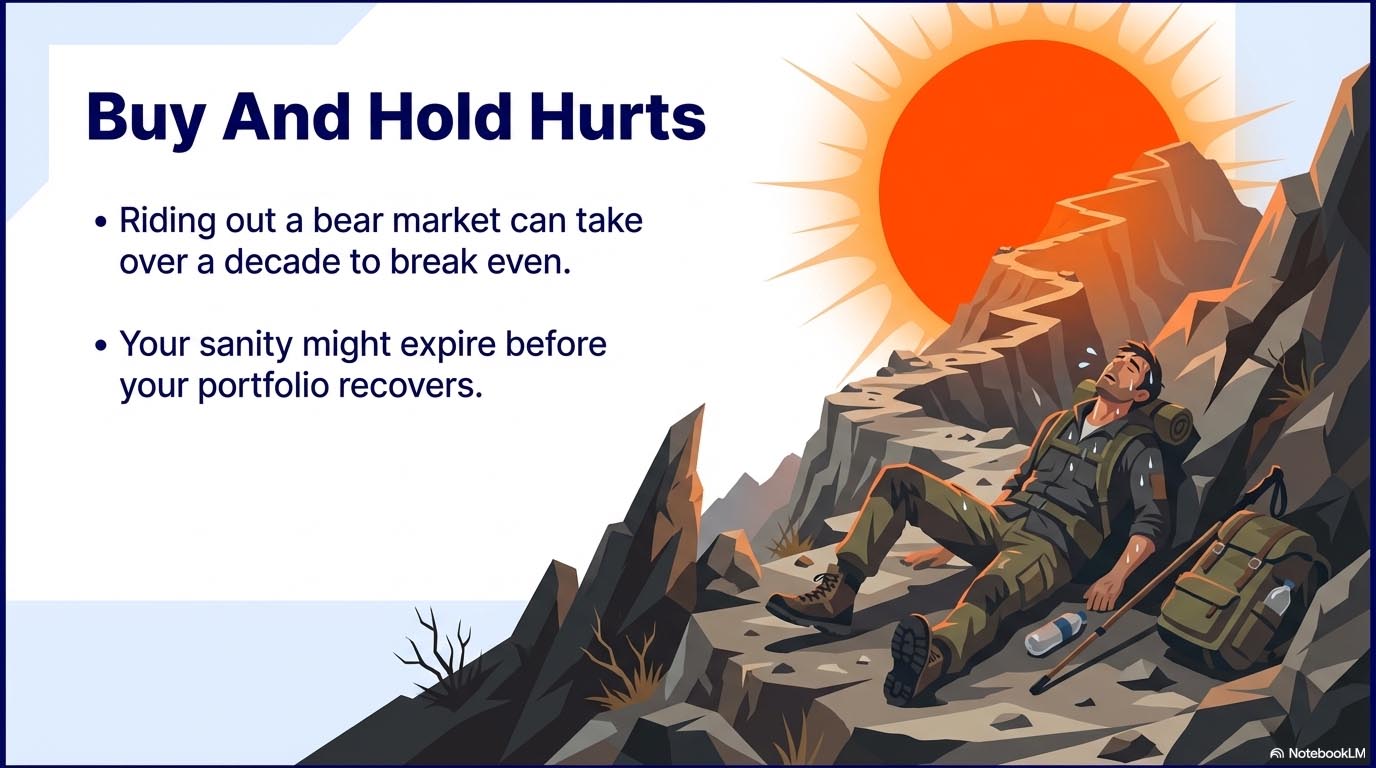
Buy and Hold: The traditional advice to just sit tight during a crash. A fantastic way to test your sanity while waiting up to 13 years just to break even.
Correction: A market drop between 10% and 20%.
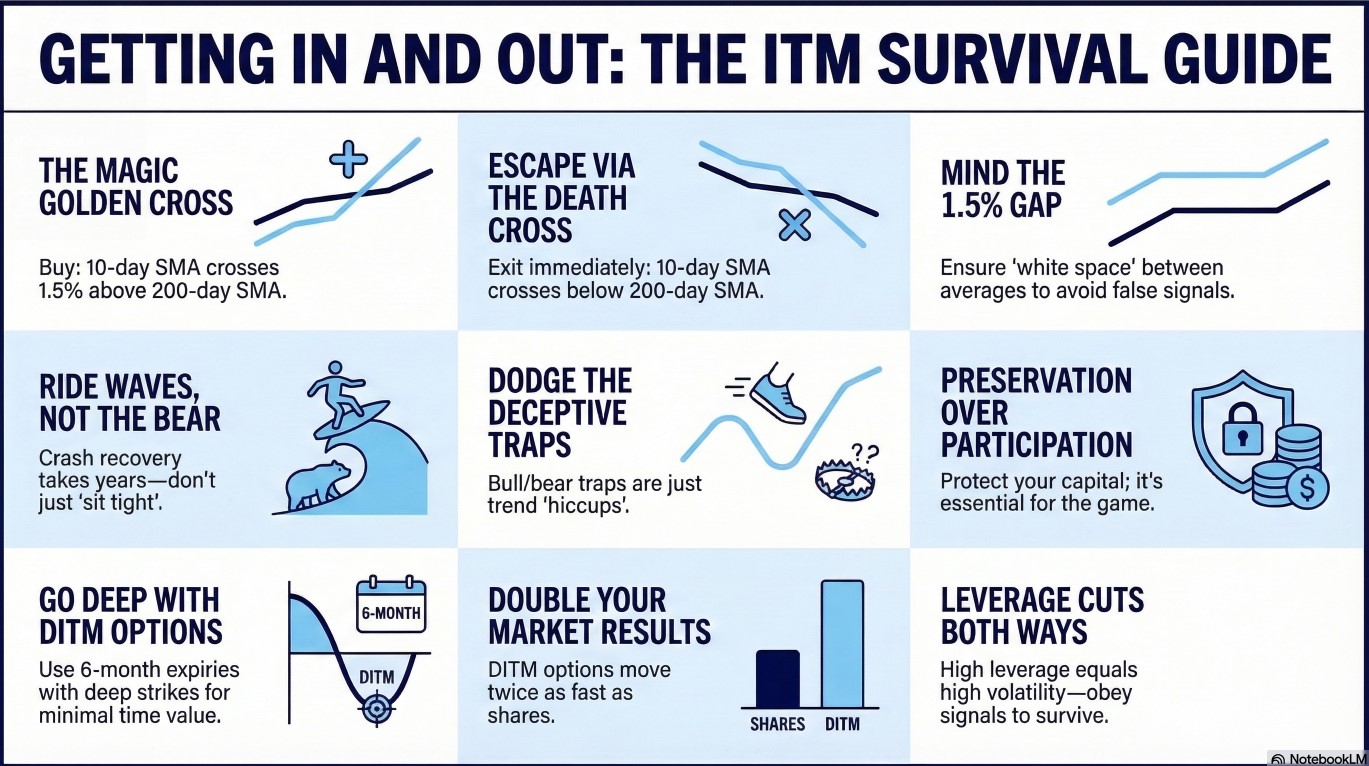
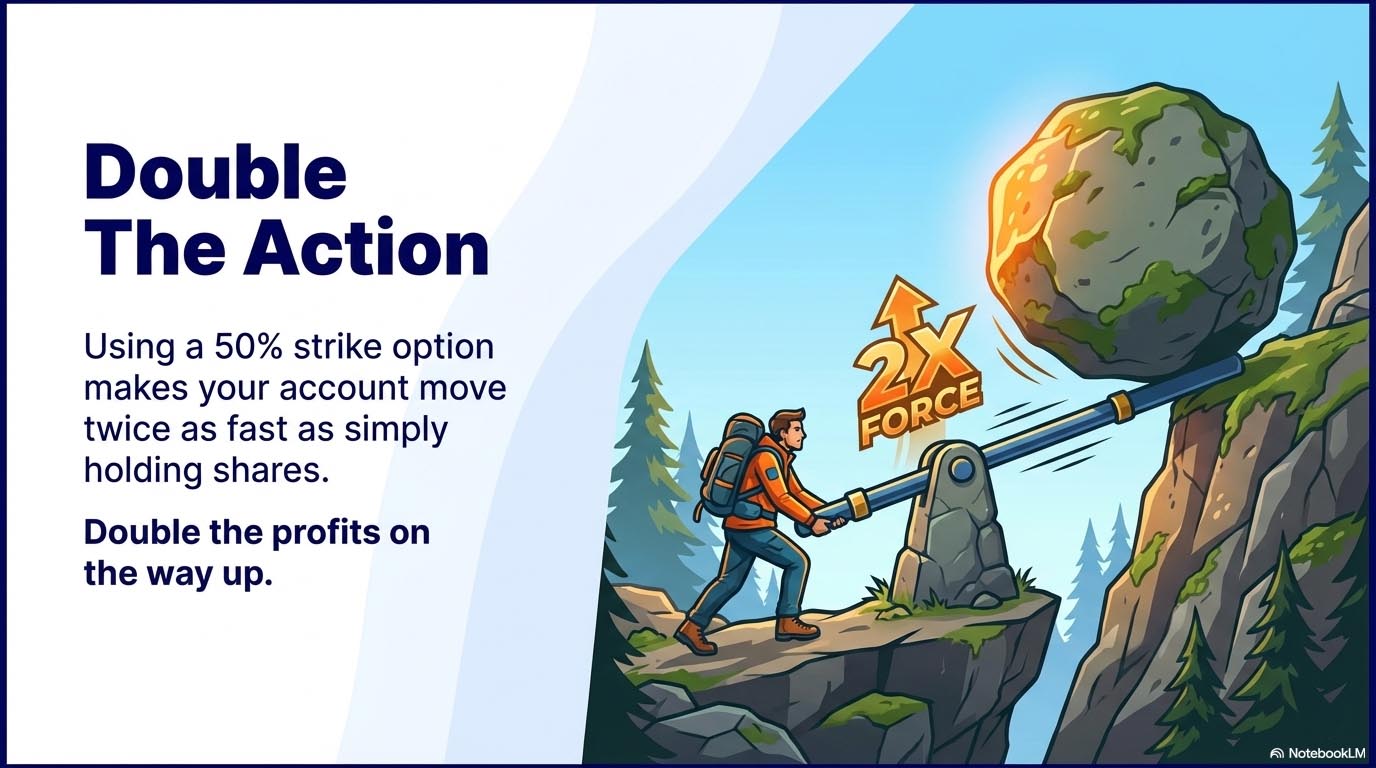
50% Strike Option: Our standard contract. It essentially doubles the market’s movements, meaning your account moves twice as fast as the SPY, both up and down.
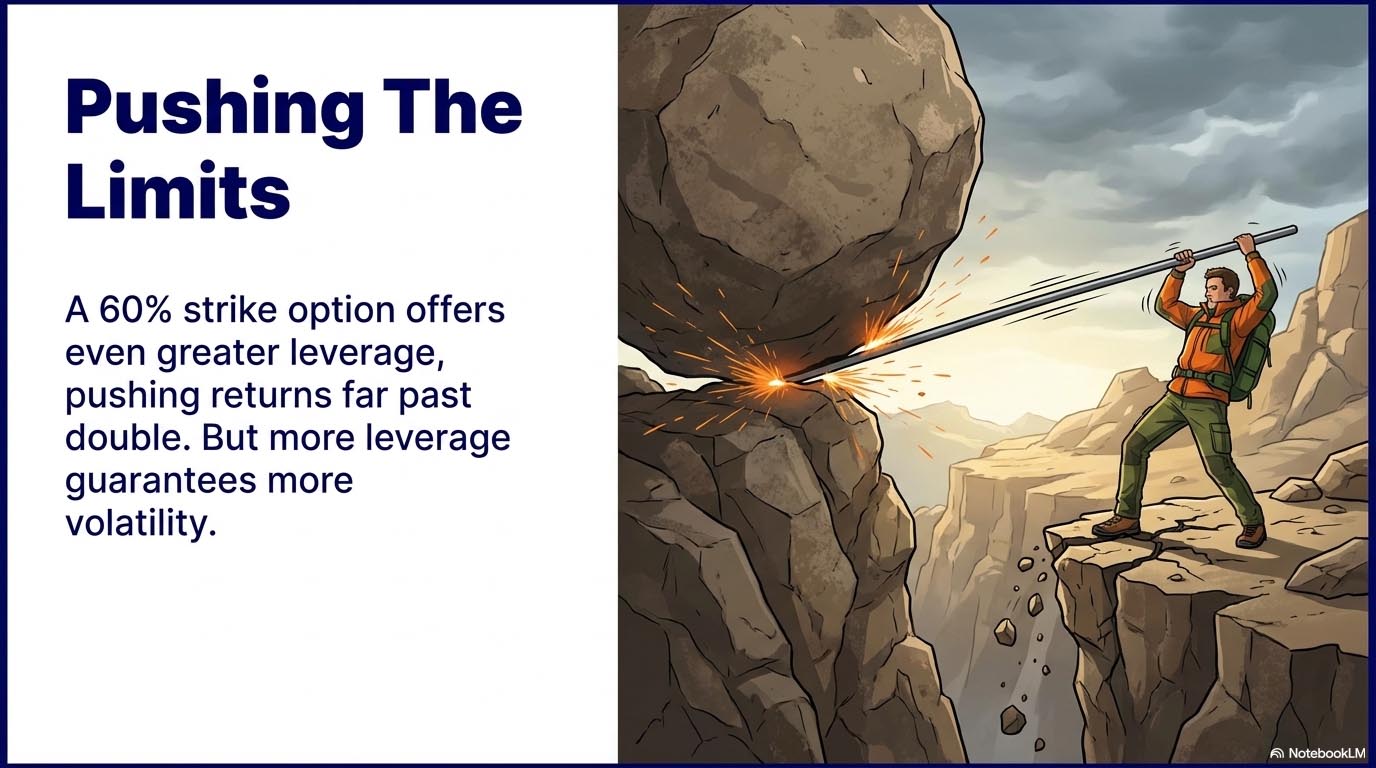
60% Strike Option: A cheaper contract offering even more leverage than the 50% strike. The trade-off is much higher risk and volatility.
ITM IN Signal (Golden Cross): Our green light to buy. It happens when the 10-day SMA crosses cleanly above the 200-day SMA.
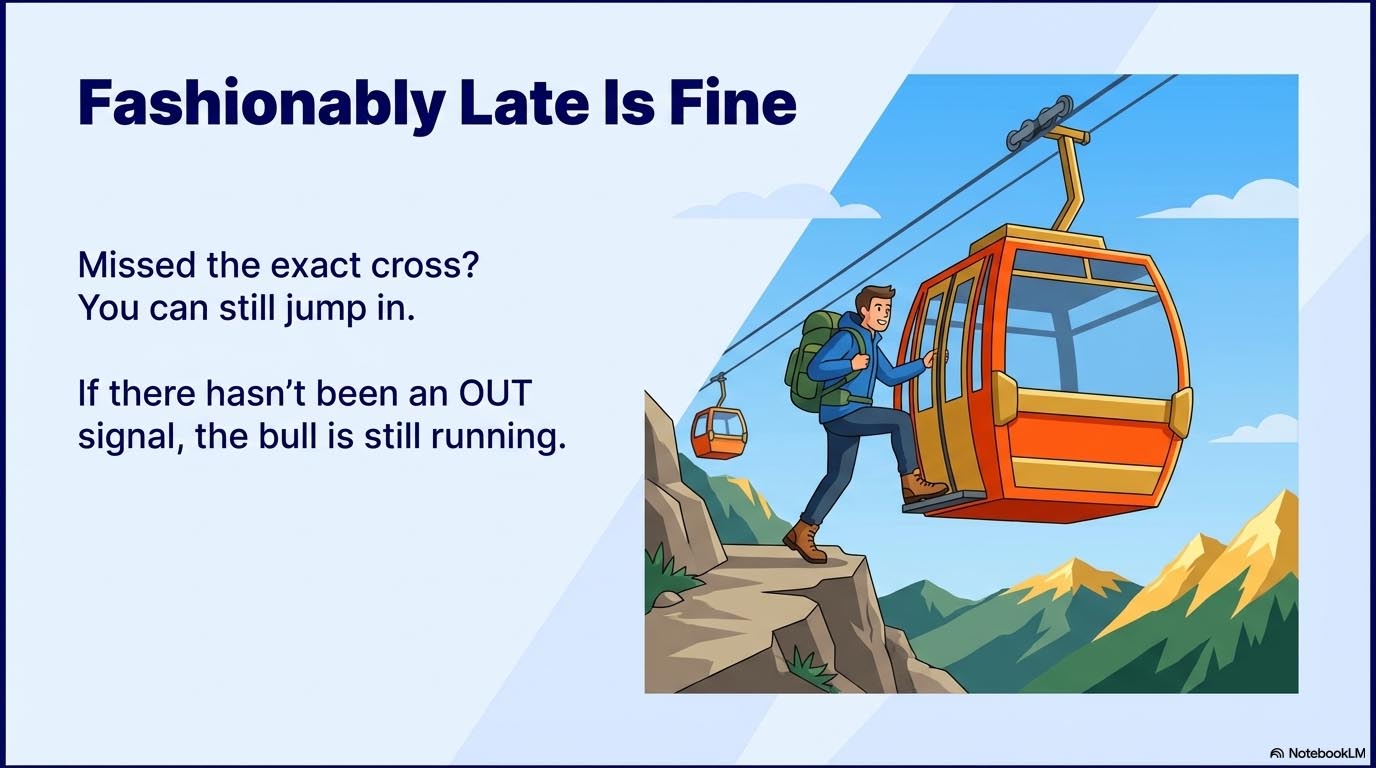
ITM OUT Signal (Death Cross): Our alarm bell to exit the market to avoid serious damage. It triggers when the 10-day SMA crosses cleanly under the 200-day SMA.
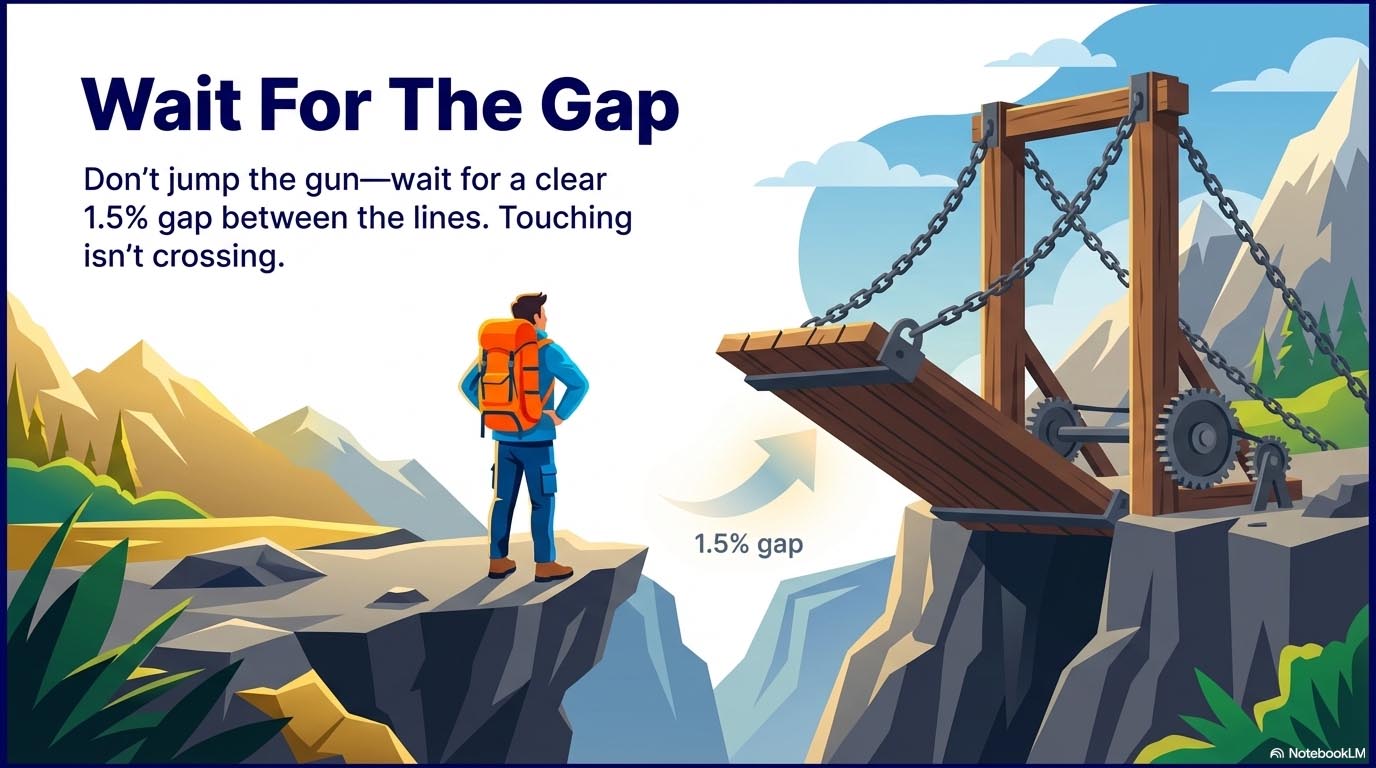
White Space: The mandatory gap required to confirm an IN or OUT signal. For SPY, we need a 1.5% gap between the two SMAs to prove it is a real cross and not just a temporary bounce.
Ready To Test Yourself?
Chapter 9 Quiz
Chapter 9 Quiz
Signals & Execution
Loading...
Quiz Complete!
You scored /
Thank you – your message has been sent.
You will be notified when there is a new blog post.
Please note that Heather answers all questions at the end of the ITM Blog.